A couple of weeks ago, I was asked by Elise to post a tutorial for the map envelopes shown here. Perfect because I was actually meaning to make a tutorial for my blog and finally, here it is. Enjoy!
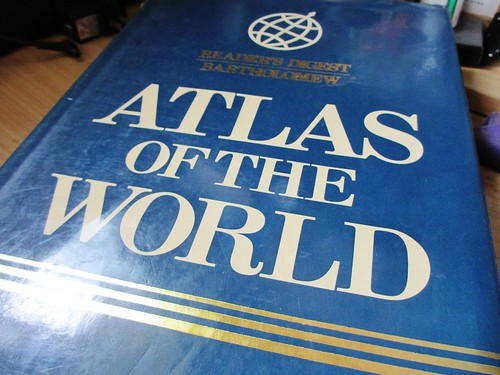
1. Get a map. Or an atlas page. Early this year, I bought an old atlas from Book Sale (a secondhand book shop) for PhP245 (around USD 5 to 6) for crafting purposes. It took me months before I was able to tear it apart. It's just too painful having to tear pages of a book but I did it anyway.

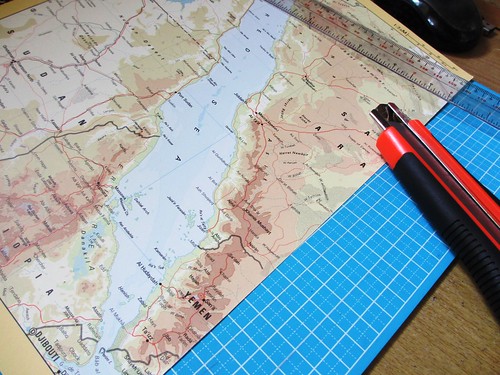
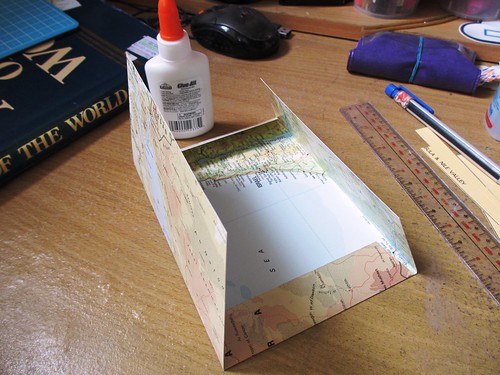
2. Have an envelope template ready. There are envelope template generators in the internet or you can just create your own, like I did. Cut your map according to your template.
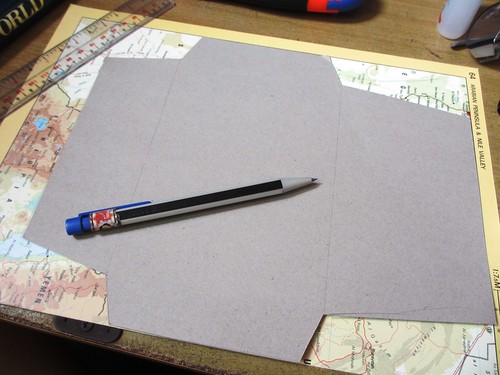
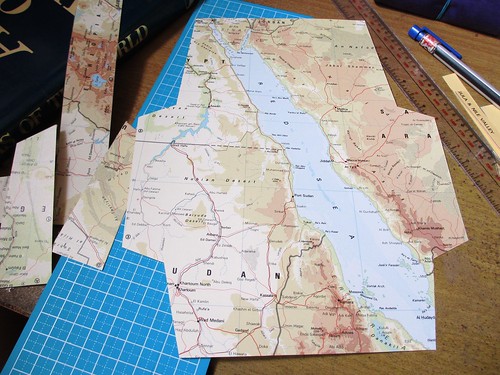
3. Fold and glue the appropriate edges together. I prefer using glue stick for paper because white glue tends to warp paper if not spread properly. However, I could not find my glue stick so I still ended up with the white glue.

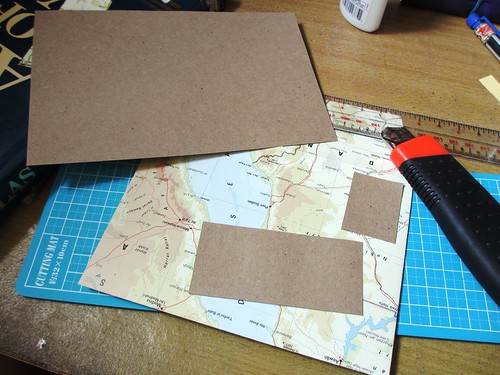
4. Cut some kraft paper for the address and the stamp. I also drew a dashed border using a calligraphy pen to make it look like the kraft paper was "sewn" onto the envelope. Glue it onto the envelope and that's it! You may use a double tape to close the flap.

Aside from maps, I also use other things like gift wrappers, music sheets or any random pieces of paper I can find for my envelopes. Keeps things interesting.
No comments:
Post a Comment