Showing posts with label crafts. Show all posts

Friday, January 16, 2015

Things I Make Sometimes

Sometimes, I make crowns.

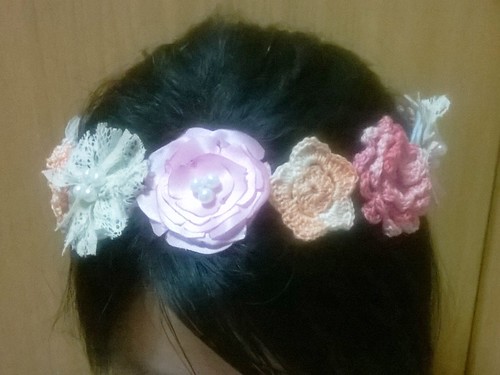
This floral crown is made from scratch. I created the flowers by hand from lace, ribbons and crochet thread. I gave it to a friend who's currently living in Australia and visited the Philippines for vacation last Christmas.

This crown, on the other hand, is not yet finished but it's supposed to be an elvish crown and it's made of armature wire. Have you seen The Hobbit: The Battle of the Five Armies yet? Don't you think Lee Pace rocked Thranduil?? I mean, I never liked Thranduil in the book because he's such a douche but Lee Pace is just too amazing so I can't bring myself to totally hate Thranduil. Don't you agree?

Anyway, I really need to practice my wire-bending skills before I finish this.


Sometimes I make pies.

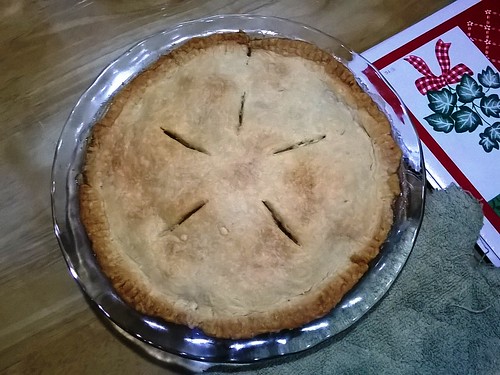
I learned how to make pies in Home Economics class in high school and I even made buko (coconut) pie and egg pie at home back then to show my parents what I learned in school haha. However, I found the pastry pie crust-making process a bit difficult and time-consuming so I didn't make pie again until recently. However, I recently wanted to challenge myself to make pies again.

And no, it has nothing to do with Pushing Daisies and Lee Pace making pies in that TV Show. Yeah, I watched it over the holidays and it's just absolutely adorable.

...

Fine, maybe a little haha. But hey, even before watching Pushing Daisies, I've already decided on making pies again! I guess Pushing Daisies just reinforced that decision.

And guess what, I'm enjoying it! I guess the only difficult part is cutting in the cold butter with the flour for the pastry crust because I don't have a food processor but otherwise, I like making pies! I'm actually thinking about buying a food processor so that I can make pies with more ease. One more thing I love about pies is that I can make use of more local fruits for baking.

Sometimes, I make boiled eggs for ramen. 

I'm just practicing how to boil eggs for ramen topping because I found a recipe for miso ramen and the ingredients are readily available in my pantry so I'm gonna give it a try this weekend. I will give an update on that!


Monday, June 30, 2014

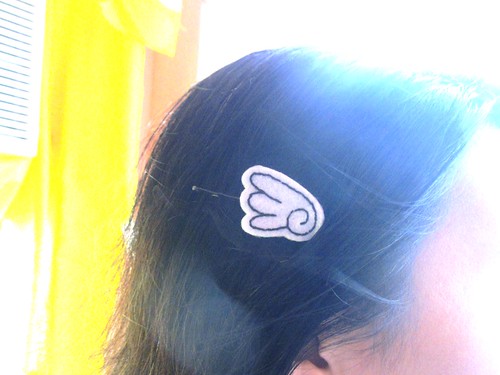
Hand-stitched Felt Wings

Here's what happened one boring Saturday morning:

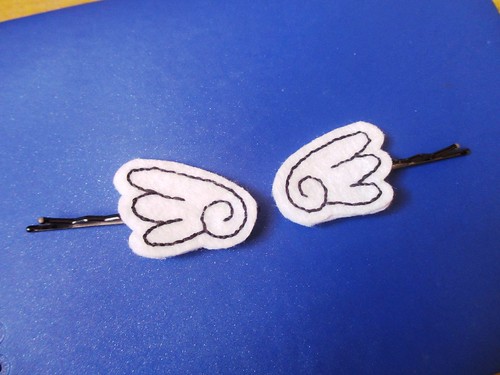
I cut some white felt, drew cartoon wings with Sharpie (pencil makes it messy) and then stitched the drawing with black thread. I cut the same shape for the backside (so that the stitches won't be seen) and then attached them to bobby pins.

It was difficult to make the pair look identical (maybe I should have used some tracing technique instead of drawing individually) and the stitches don't look flawless but I'm fine with it since the flaws aren't very noticeable from afar and I guess that one of the charms of handmade things lol.


Wednesday, May 21, 2014

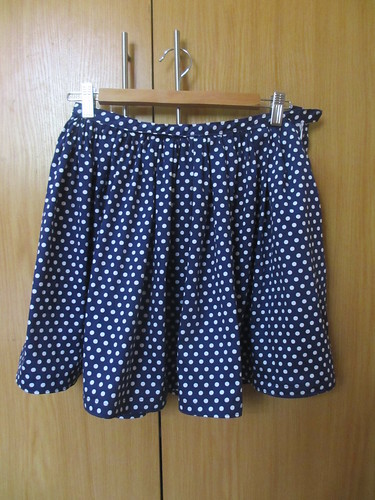
My First DIY Skirt

Finally, I was able to sew my own skirt! It even has a pocket and a zipper closure. (Hurray for skirts with pockets!) I am really thankful for Meream's tutorial! This crafty lady is totally amazing and I love her blog.
I have to admit, my skirt's workmanship is not really good because I never really had any sewing training. I'm just glad I was able to make something wearable haha.

IMG_2733
Navy blue polka dots! Just my type of fabric!

IMG_2736

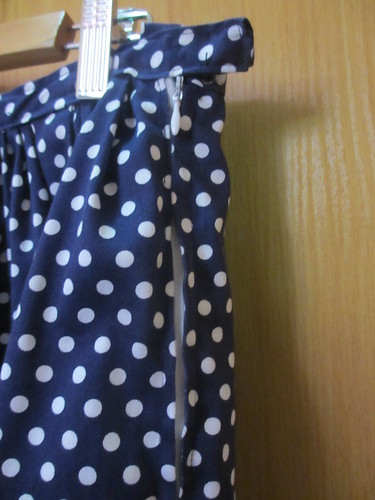
I had to handsew some parts of the zipper because I do not have a zipper foot. (My sewing machine belongs to my late grandma. It's vintage and no one knows where the accessories are. I need to find a place to buy feet for old Singer sewing machines.)

I actually wanted to make a lace skirt but darn... lace fabric is very expensive. Next time, perhaps! I'm definitely making more skirts!

Sunday, May 4, 2014

Bye Boring (Hair)buns

It's currently summer in Manila and, needless to say, the heat is horrible. I cannot stand leaving my hair down and therefore ponytails, buns and quick braids have been my go-to hairstyles recently.

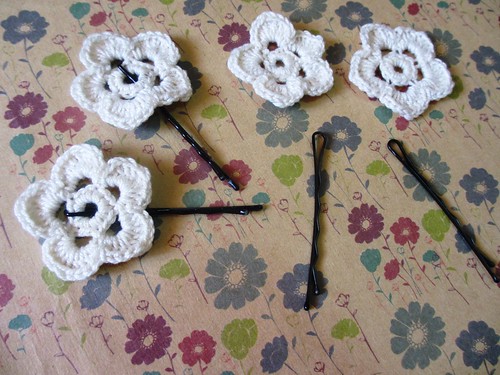
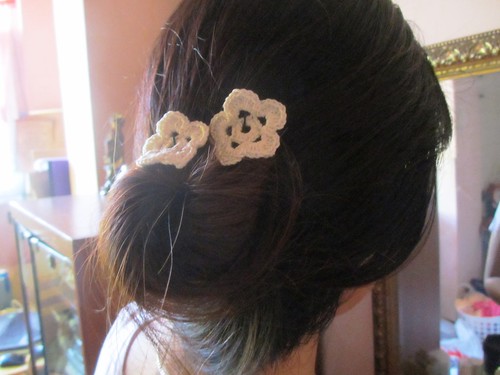
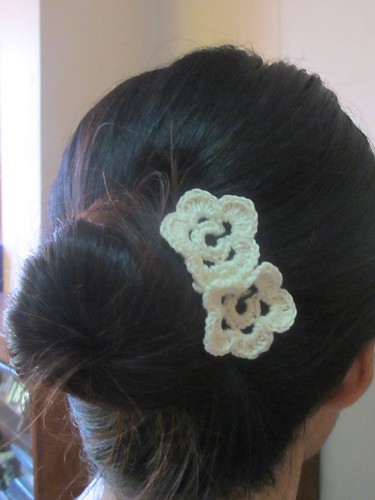
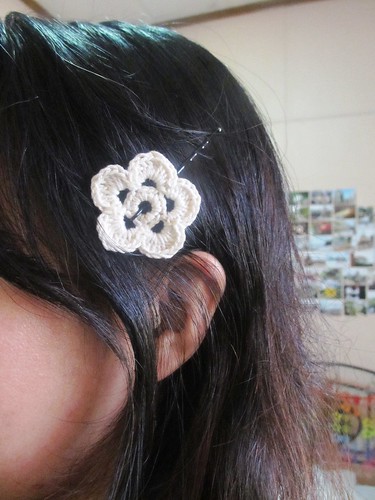
Yesterday, while I was putting up my hair in a bun, I suddenly wanted to make pearl bobby pins to make my otherwise boring hairbuns more fun. I took the box where I store my pearl beads and got distracted when I found these old crochet flowers that I made back in January 2011. I've always meant to attach the flowers into a headband but never got to do so because I don't feel that such a headband would fit my style.

.

Now, being a person with a short attention span, instead of making pearl bobby pins as initially planned, I had a little eureka moment and decided to attach the old crochet flowers into bobby pins and I was happy with the result!

.
low, messy bun

.
normal bun

Once the weather cools down, I can wear it with my hair down!

.

Wednesday, April 16, 2014

DIY Cardboard Desk Organizer

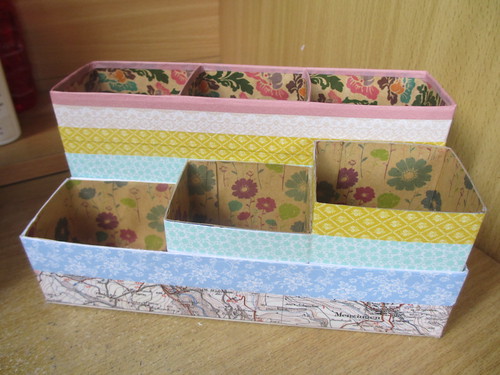
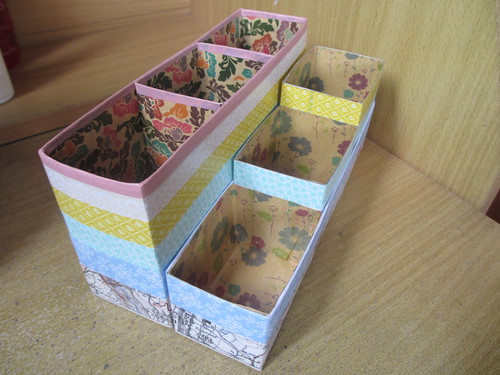
For the longest time, I've been meaning to find a way to organize my desk in such a way that everything I need is within an arm's reach and that I don't have to dig though my things to get something. A couple of weeks ago, while browsing through Pinterest, I saw a some desk organizer ideas (here and here) and I knew I had to make my own to replace the plastic cups and ceramic mugs that have populated my desk for years.

IMG_2604

IMG_2602

IMG_2601

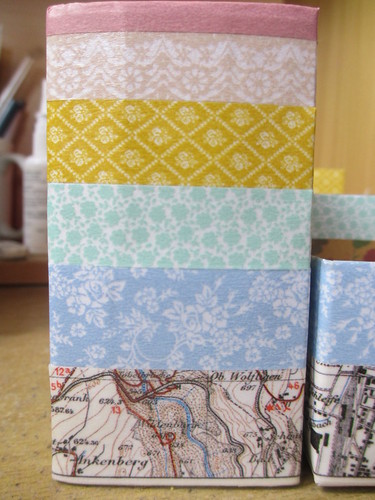
I salvaged some Swiss Miss boxes (they're pretty sturdy), cut them into parts and covered them with white paper. I picked out some washi tape to cover the exterior with and then I used leftover kraft wrapping paper with floral designs for the interior. Finally, I covered everything with two coats of ModPodge (I got a bottle from Deovir in SM North Edsa).

IMG_2609
my choice of washi tape: pastel colors, lace, florals and a map

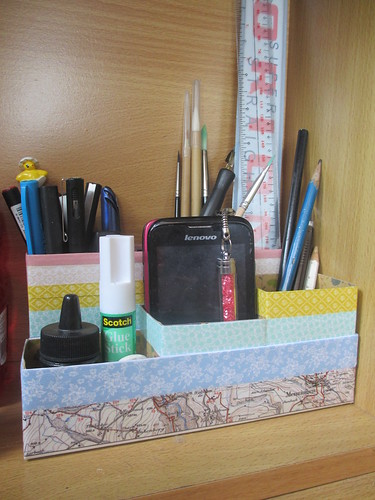
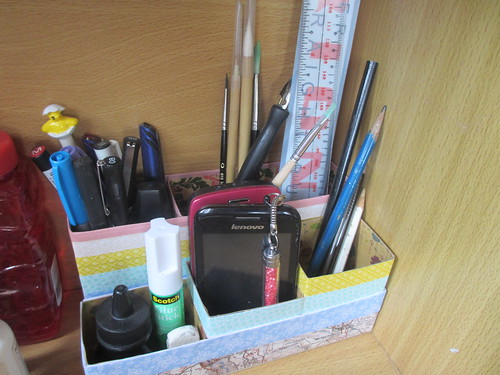
Some photos in action. Of course I forgot to take a 'before' photo of my desk. And of course, I've no 'during' photos either. LOL.

IMG_2610

IMG_2611

I have to say I'm satisfied with how the project turned out. My desk looks more organized and prettier now. Plus, I didn't have to buy anything because all materials are either recycled or has been in my crafting stash ever since.

I hope to keep up the desk organizing. Right now, I'm thinking my next project shall either (1) fix my notebooks and paper stash or (2) fix my drawer and be inspired by this. One at a time, one at a time. 

Saturday, January 25, 2014

Life's Little Joys

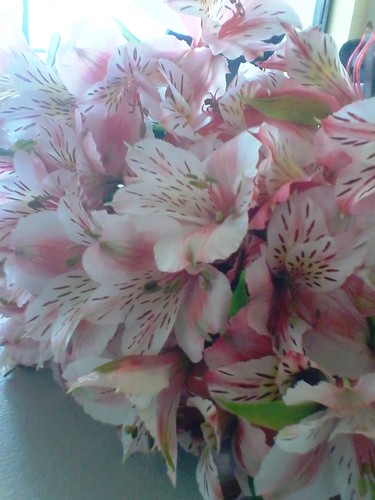
1. Our office's new neighbor is a flower shop. During lunchtime last Tuesday, I asked how much the flowers were and I got a whole bunch for free The owner said she didn't wanna sell these lilies because they're not so fresh anymore and therefore would not last very long... but still... Hurray for free flowers!


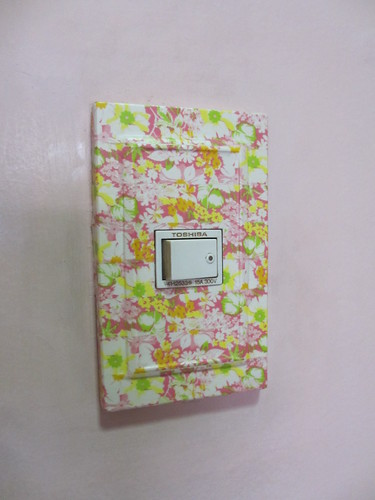
2. I managed to cover a switch plate with washi tape.


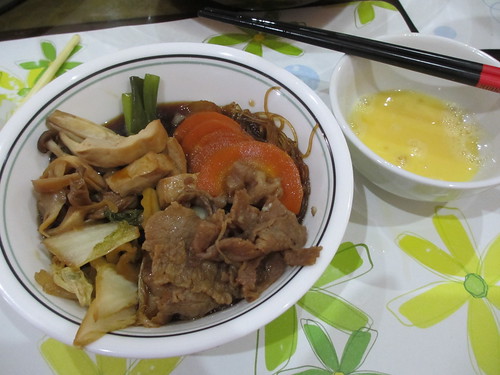
3. I made sukiyaki last weekend using this recipe. I made some Cambodian green mango salad too.

raw egg for dipping the beef!


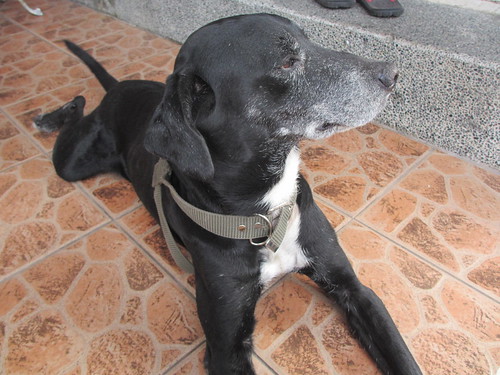
4. Our dog (a nine-year old black Labrador-Dalmatian mix) was sick last week. For a couple of days, he would not eat unless the food came straight from my hands and even then, he wouldn't eat as enthusiastically as he normally would. He barely moved around too. I brought him to the vet where they took some of his blood. The results returned with some elevated values but thankfully, the next day, our dog became his usual [energetic though mischievous] self again. I'm so relieved. 


Thursday, January 2, 2014

All Laced Up

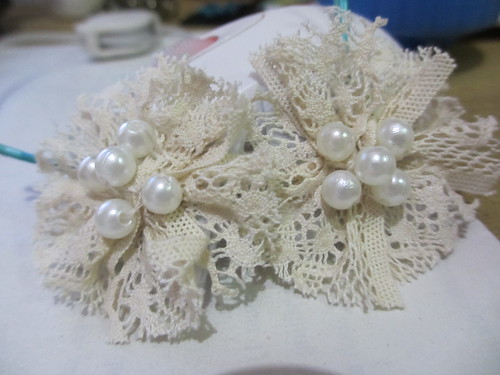
On the night of Christmas eve, I was in the mood to create some hair accessory to wear for mass and here's what I ended up with: a pair of lace hairpins.


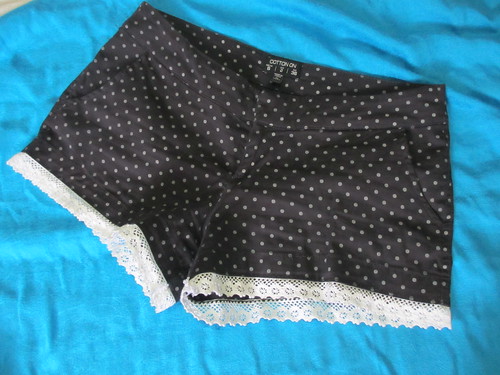
Two days after Christmas, I was meeting friends in the afternoon so I had time to kill in the morning. Here is a project that I've been meaning to make for months already: adding lace to the hem of my polka dot shorts (that were a bit too short lol). 


Sunday, December 15, 2013

Sunday, December 1, 2013

Tutorial: Map Envelopes

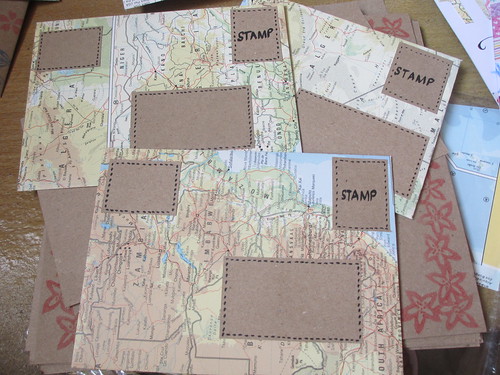
A couple of weeks ago, I was asked by Elise to post a tutorial for the map envelopes shown here. Perfect because I was actually meaning to make a tutorial for my blog and finally, here it is. Enjoy!

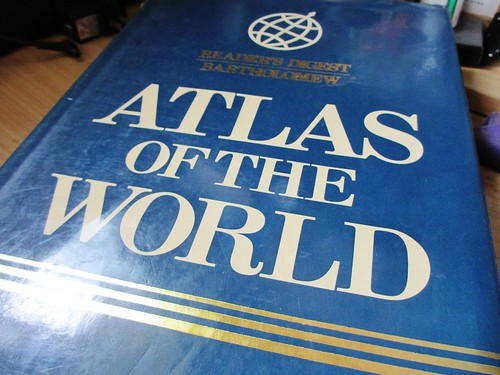
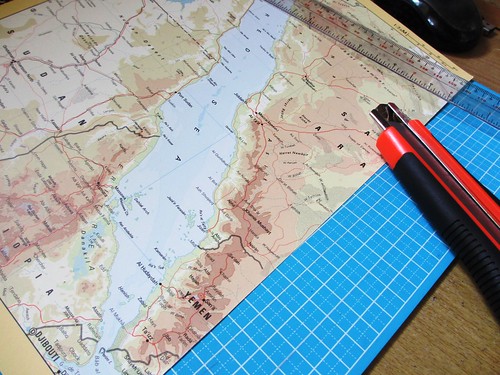
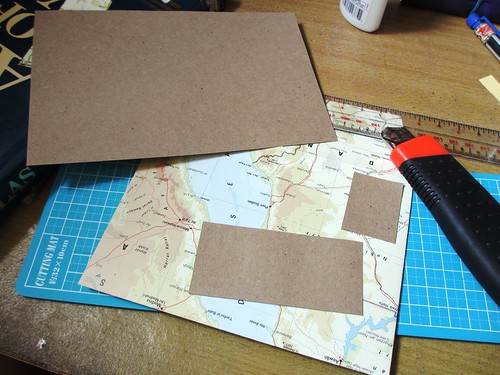
1. Get a map. Or an atlas page. Early this year, I bought an old atlas from Book Sale (a secondhand book shop) for PhP245 (around USD 5 to 6) for crafting purposes. It took me months before I was able to tear it apart. It's just too painful having to tear pages of a book but I did it anyway.


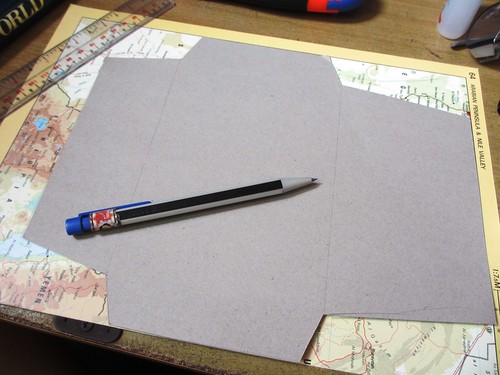
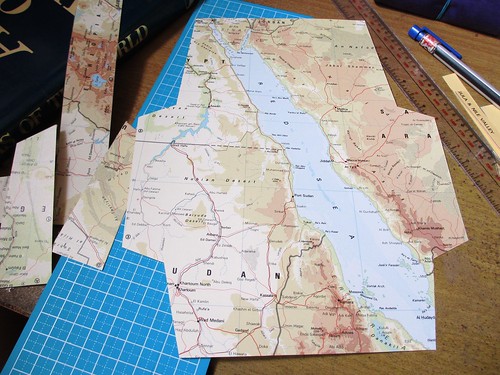
2. Have an envelope template ready. There are envelope template generators in the internet or you can just create your own, like I did. Cut your map according to your template.


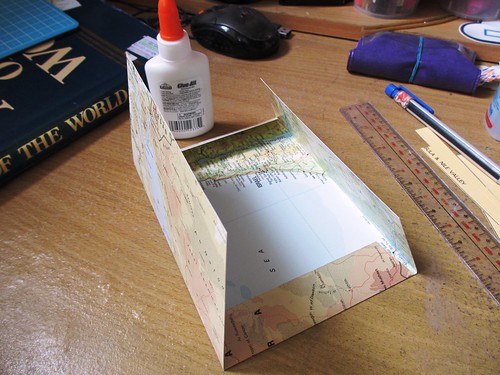
3. Fold and glue the appropriate edges together. I prefer using glue stick for paper because white glue tends to warp paper if not spread properly. However, I could not find my glue stick so I still ended up with the white glue.


4. Cut some kraft paper for the address and the stamp. I also drew a dashed border using a calligraphy pen to make it look like the kraft paper was "sewn" onto the envelope. Glue it onto the envelope and that's it! You may use a double tape to close the flap.


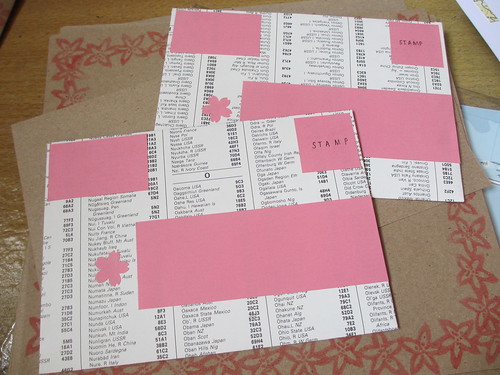
Aside from maps, I also use other things like gift wrappers, music sheets or any random pieces of paper I can find for my envelopes. Keeps things interesting. 

Sunday, October 6, 2013

Mail Last Week

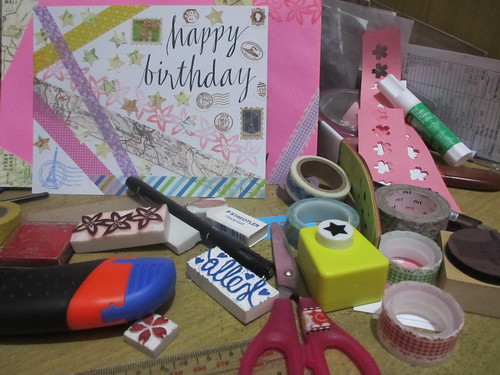
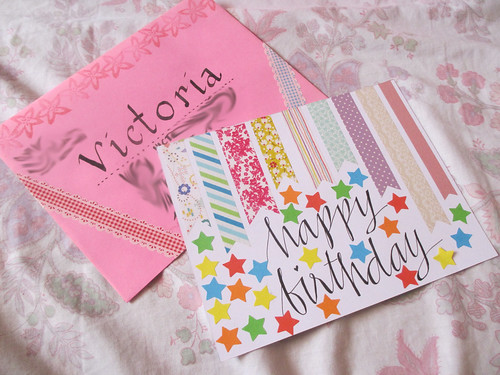
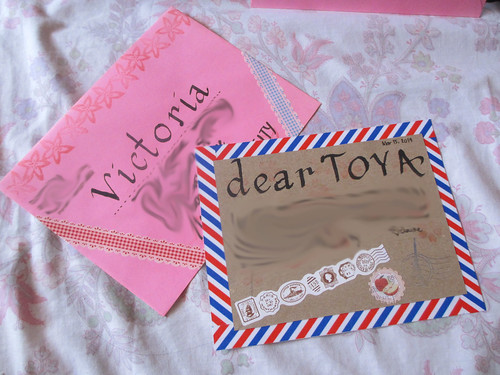
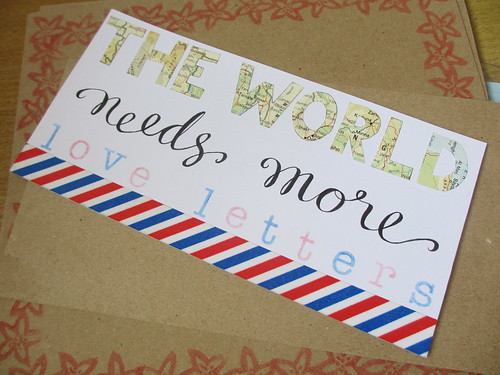
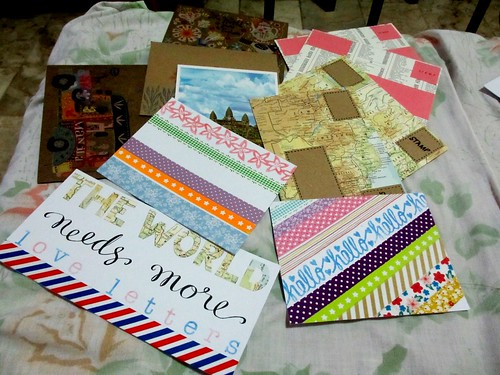
Last week, I made some stationery (including custom envelopes) and wrote on postcards to send to some friends. 


Crafting and snail mail really relaxes me. :)

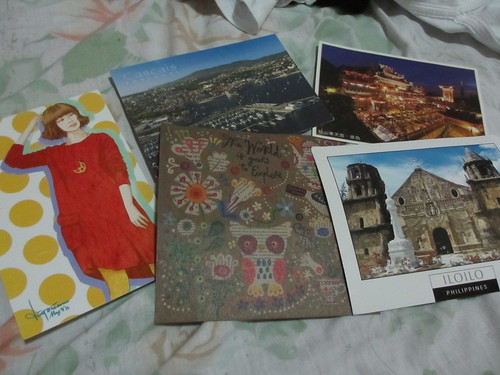
Also, some lovely mail I received over the past two weeks:


Sunday, September 22, 2013

Festive Washi Tape Cake Topper

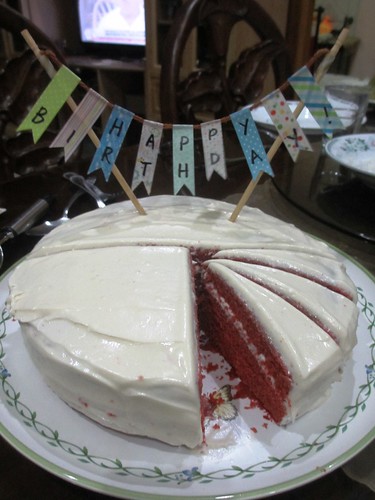
My dad celebrated his birthday last Friday so I made him a red velvet cake. I was not in the mood to bring out the pastry tips so here's what I came up with, an idea from Pinterest.


I cut some washi tape, looped them into a yarn, and then taped the ends of the yarn onto bamboo skewers.


To be able to do both baking and crafting for one project was fun!

That's Write

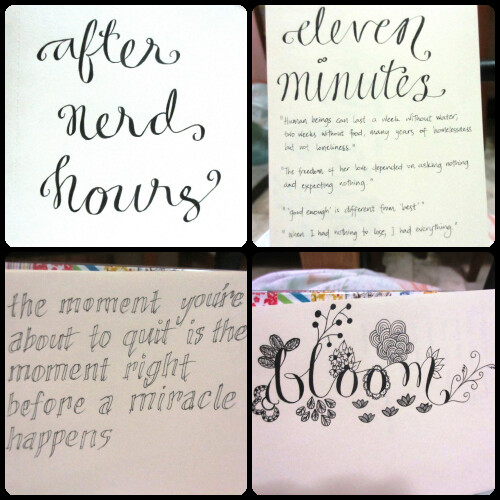
I mentioned recently that bought an unruled notebook from Landmark for my doodles, lettering, notes and lists.

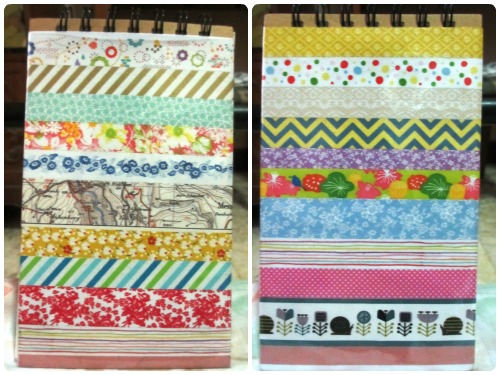
When I got home, I immediately decorated the cover with washi tape.


Here are some of the content so far:


I dunno about most people but doodling kind of relieves stress for me and I also like writing certain things down because that make me remember things better. Hoping to fill this notebook with pretty things and pretty words.

Sunday, September 15, 2013

Photo Collage Wall Project

I've had this project in my head for some months now but it was only yesterday that I was able to execute it.

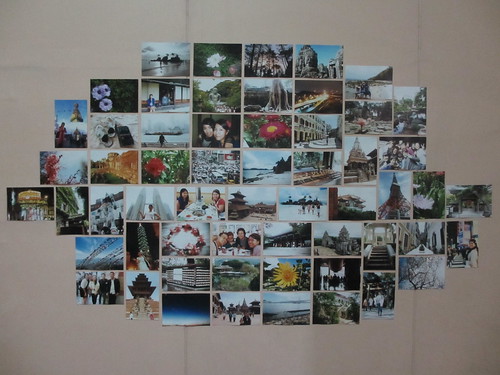
I have a bare wall panel in my room that I wanted to fill with photos. For some time, I've been picking out my favorite photos in my computer and had 3R copies printed yesterday.


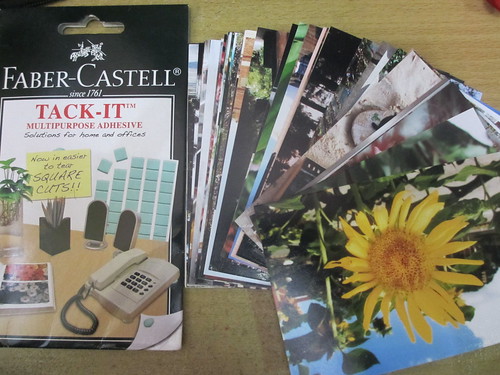
I also debated with myself whether to use tack-its or washi tape as both adhesives are said not to leave residue on surfaces. I have an unopened pack of Faber-Castell's Tack-Its (I discovered it from a friend who owned some and I thought it was amazing so I also bought a pack without any particular use in mind.) I also have a bunch of washi tape. In the end, I settled for the Tack-Its so that I can finally use them and so that I don't have to waste the prettiness of washi tape lol.

Turns out it was not a good idea because after just sticking a couple of photos, my fingertips were already numb from kneading the Tack-Its haha but I didn't stop because I was so excited to see my finish product. 

Anyway, in the end, I think it turned out well. Now I have something lovely to stare at.

Pretty much how I spent my Saturday afternoon.